Designer: Katrine Nielsen
Instagram: loops_by_kat
Hi there…
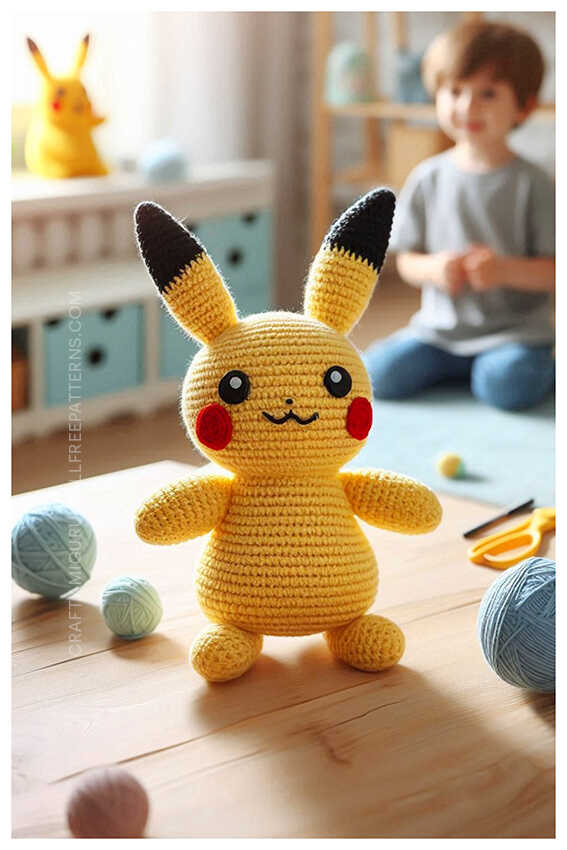
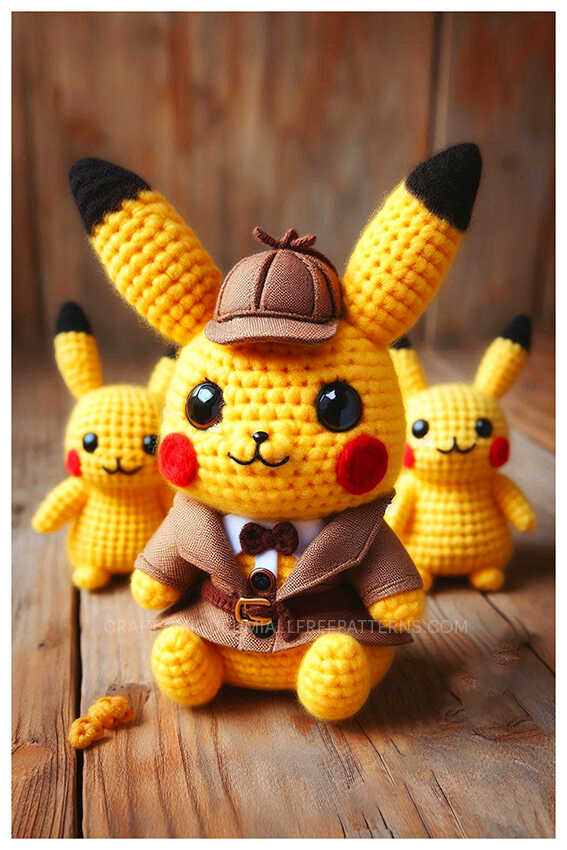
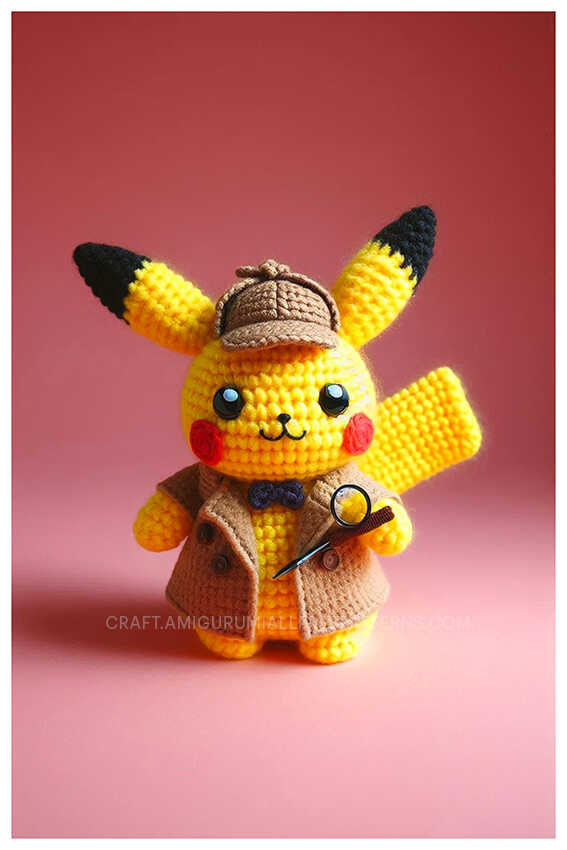
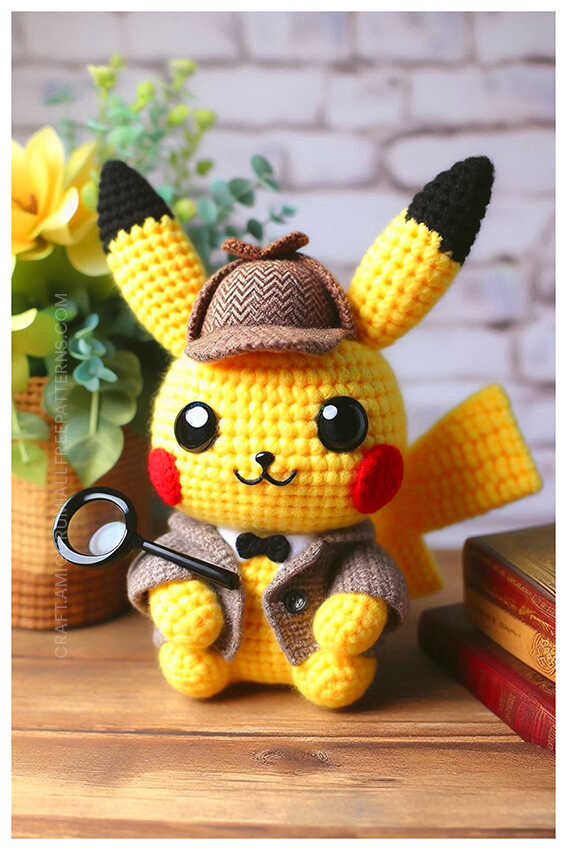
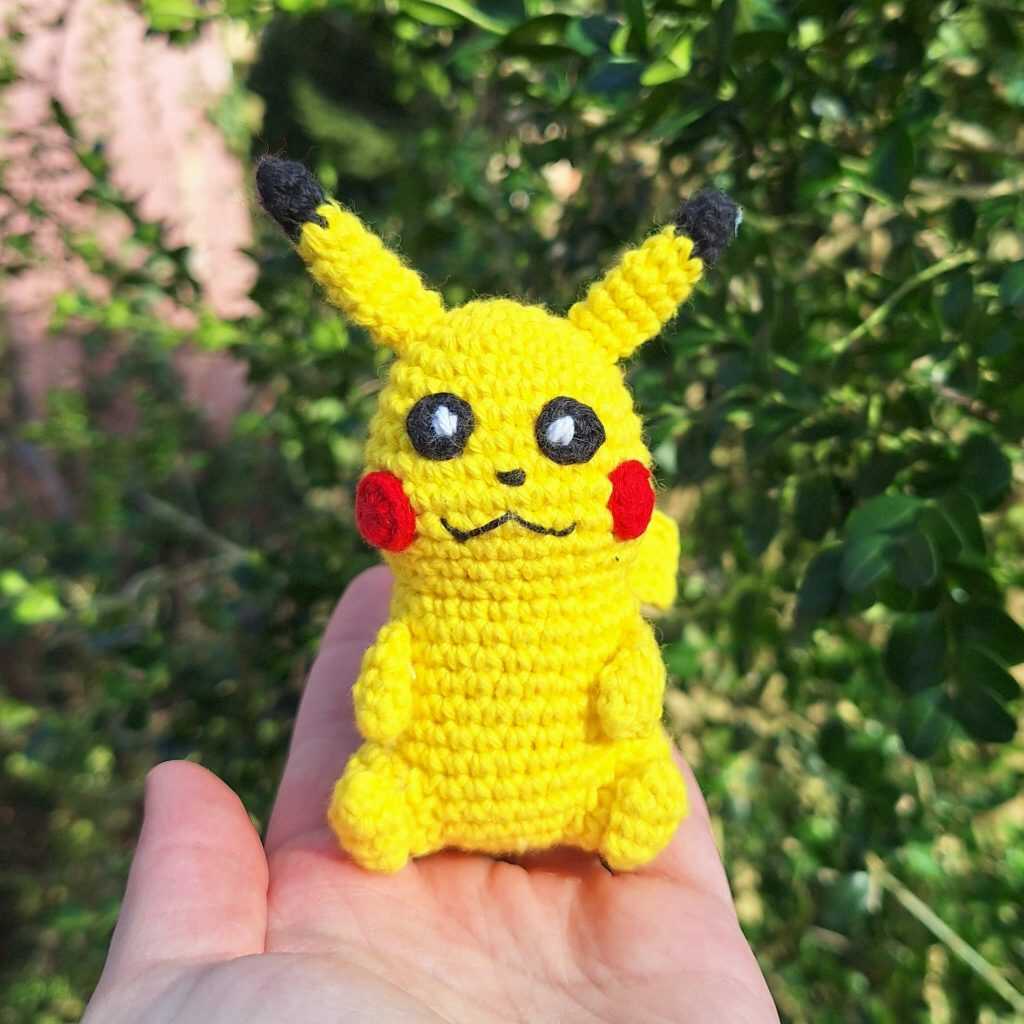
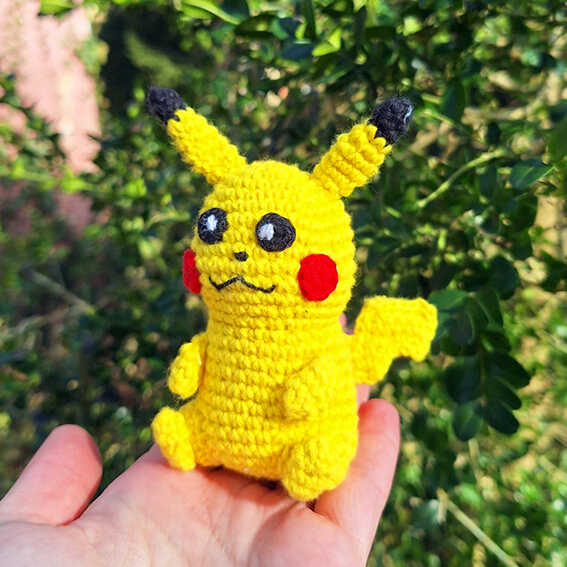
One of the free amigurumi crochet patterns we will share today is the amigurumi pikachu, whose design belong to Katrine Nielsen. You can learn how to crochet these pikachu using the free amigurumi pattern. Thanks to the creator for this cute pattern.
Amigurumi cats, amigurumi dolls, amigurumi dogs, amigurumi unicorns, amigurumi lambs, amigurumi dinosaurs, amigurumi foxes, amigurumi bears, amigurumi giraffes, amigurumi pigs, amigurumi birds, amigurumi penguins, amigurumi pandas, amigurumi llamas, amigurumi bunnys, amigurumi clowns, amigurumi elephants, amigurumi hippos, amigurumi monkeys…
All the amigurumi toys pattern recipes and ideas you are looking for are here…
You can follow our YouTube account for free amigurumi patterns and great amigurumi ideas.
Have fun…
Abbreviations
Rnd = round
mr = magic ring
sc = single crochet
inc = increase, 2 sc in the same stitch
dec = decrease, make 2 stitches into 1
ss = slip stitch
BLO = Back Loop Only
FO = Finish Off chain
Materials
Crochet hook 2,5 mm,
Sewing needle
Stuffing
Stitch marker
I reccomend This yarn is a 100% cotton and very nice to work with! With this yarn, I use a 2,5 mm hook (or a B-1 or C-2 should work too!). If Rainbow cotton is sold out, I can also recommend Friends cotton from Hobbii as a direct substitute.
1 x yellow (54)
A bit of black for ears, eyes and facial detail
A bit of red and white for facedetails
a bit of an orange color for the base of the tail
With the recommended yarn the Pikachu is about 12 cm or 4,5 inches tall.
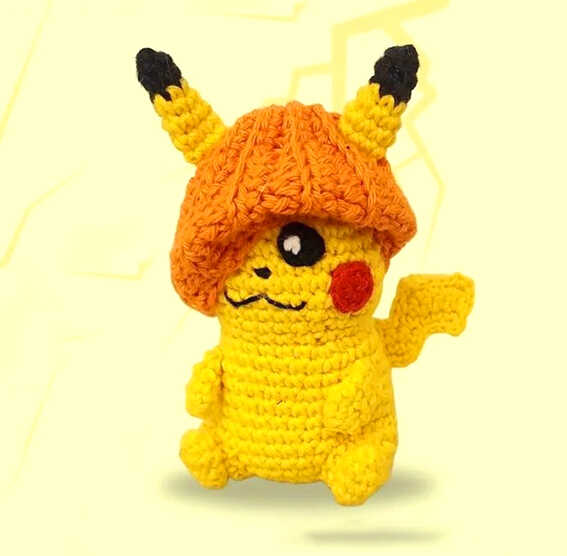
FREE CROCHET PIKACHU WITH PUMPKIN HAT AMIGURUMI PATTERN
Body
Rnd 1. 6 sc in MR (6)
Rnd 2. inc x 6 (12)
Rnd 3. (sc,inc)x6 (18)
Rnd 4. (3sc,inc,4sc,inc)x2 (22)
Rnd 5. (4sc,inc,5sc,inc)x2 (26)
Rnd 6. (4sc,inc,6sc,inc,sc)x2 (30)
Rnd 7-8. sc around (30)
Rnd 9. 5 sc, inc x2, 7 sc, inc x2, 14 sc (34)
Rnd 10-11. sc around (34)
Rnd 12. 6 sc, dec, 8 sc, dec, (6sc,dec)x2 (30)
Rnd 13. (6sc,dec,5sc,dec)x2 (26)
Rnd 14. (5sc,dec,4sc,dec)x2 (22)
Rnd 15. in FLO, (inc,4sc,inc,5sc)x2 (26)
Rnd 16-17. sc around (26)
Rnd 18. (inc,5sc,inc,6sc)x2 (30)
Rnd 19-21. sc around (30)
Rnd 22. (2sc,inc,6sc,inc,5sc)x2 (34)
Rnd 23. sc around (34)
Rnd 24. (2sc,dec,6sc,dec,5sc)x2 (30)
Rnd 25. (3sc,dec)x6 (24)
Rnd 26. (sc,dec,sc)x6 (18)
Rnd 27. (sc,dec)x6 (12)
Rnd 28. dec x6 (6)
Fasten off.
Ears
Start with black.
Rnd 1. 4 sc in MR (4)
Rnd 2. (sc,inc)x2 (6)
Rnd 3. sc around. In last stitch change color to yellow (6)
Rnd 4. sc around (6)
Rnd 5. (inc,2sc)x2 (8)
Rnd 6-8. sc around (8)
Rnd 9. (dec,2sc)x2 (6)
Make a slst and fasten off, leaving tail for sewing.
Eyes
Worked in black.
Rnd 1. 4 sc in MR (4)
Make a slst and fasten off. Embroider white highlights.
Cheeks
Worked in red.
Rnd 1. 8 sc in MR (8)
Make a slst and fasten off.
Thighs
Start with yellow.
Rnd 1. 6 sc in MR (6)
Rnd 2. (inc,sc)x3 (9)
Rnd 3. inc x3, 6 sc (12)
Rnd 4. sc, inc x4, 7 sc (16)
Slst and fasten off, leave tail for sewing.
Feet
Worked in yellow.
Rnd 1. 6 sc in MR (6)
Rnd 2-3. sc around (6)
Rnd 4. dec, 4 sc (5)
Fasten off leaving tail for sewing.
Arms
Worked in yellow.
Rnd 1. 6 sc in MR (6)
Rnd 2-4. sc around (6)
Stuff the arm and fold the piece and sc through both layers.
Fasten off leaving tail for sewing.
Tail
The tail is worked in 2 pieces that are connect by slst afterwards. This is done to give the tail more stability.
Start with orange or brown chain 3, turn.
Row 1. in 2nd st make a sc, sc, ch 3, turn
Row 2. sc in 2nd st, 2 sc, ch 1, turn
Row 3. 3 sc, change color to yellow and ch 4, turn
Row 4. sc in 2nd st, 3 sc, ch 1, turn
Row 5. 4 sc, ch 4, turn
Row 6. sc in 2nd st, 4 sc, ch 1, turn
Row 7. 5 sc, ch 1, turn
Row 8. 5 sc, fasten off.
Make 2 identical pieces.
Make 2 pieces and put them together.
Connect orange yarn at the beginning of the tail and slst around the tail going through both pieces at once.
Change yarn to yellow when needed and back to orange again when needed.
In the corners of the tail highlighted with arrows (those pointing outwards), put 2 sc instead of a slst.
This will emphasize the shape of the tail.
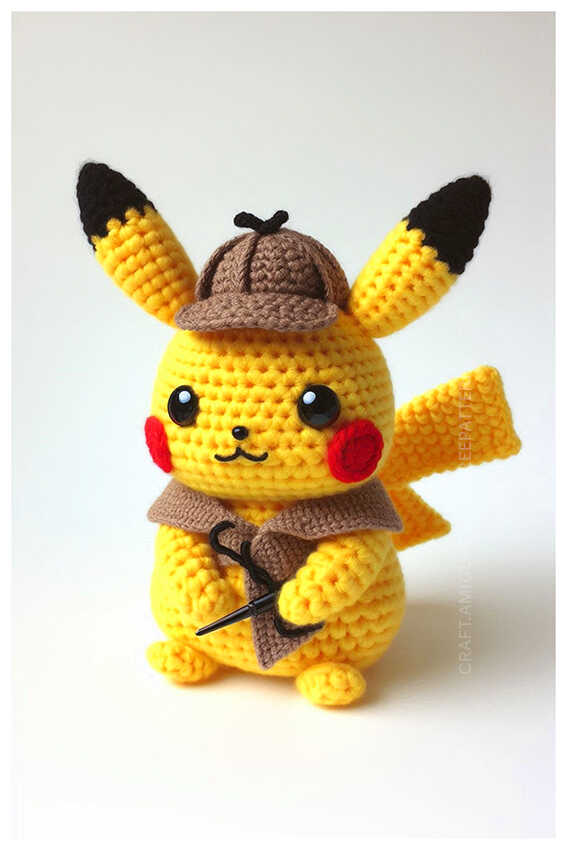
Pumpkin hat
If you want, you can add a pumpkin head/ hat to pikachu!
Assemble the pikachu first for best results.
The pumpkin is worked in rows and sinched at the top in the end.
Chain 16 with orange and repeat the following 2 rows.
Row 1. 2 slst, 4 sc, 8 hdc, 2 sc, ch 1, turn
Row 2. 2 sc, 8 hdc, 4 sc, 2 slst, turn
Adding in holes for the ears.
Measure your piece on pikachus head. The chain start is at back of his head.
When you reach the first ear, mark the 3 stitches that fit the size of the ear.
On your next row, instead of doing the st in the pattern, skip the 3 marked stitches and chain 3.
On the following row, continue as normal using the chains. Repeat on 2nd ear.
Slst or sew the back shut and sinch the top with yarn. Fasten off.
Pikachu amigurumi is ready!
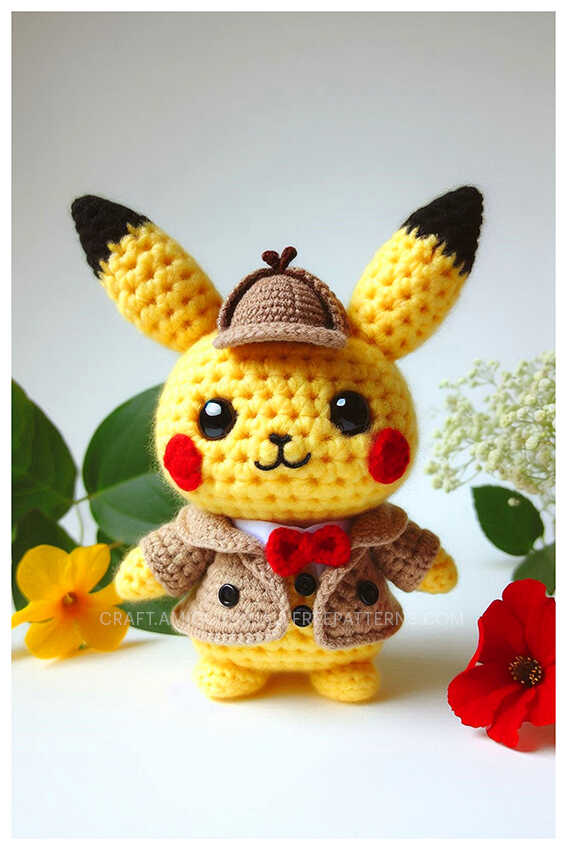
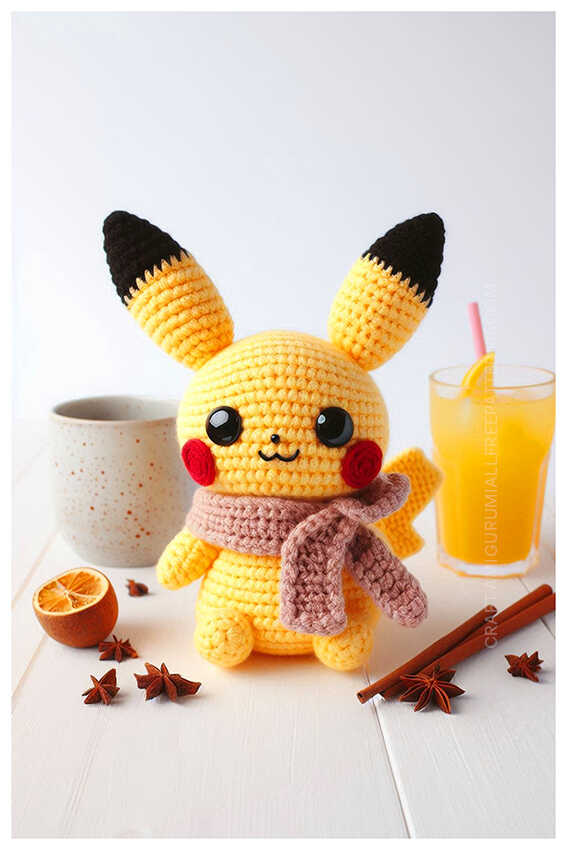
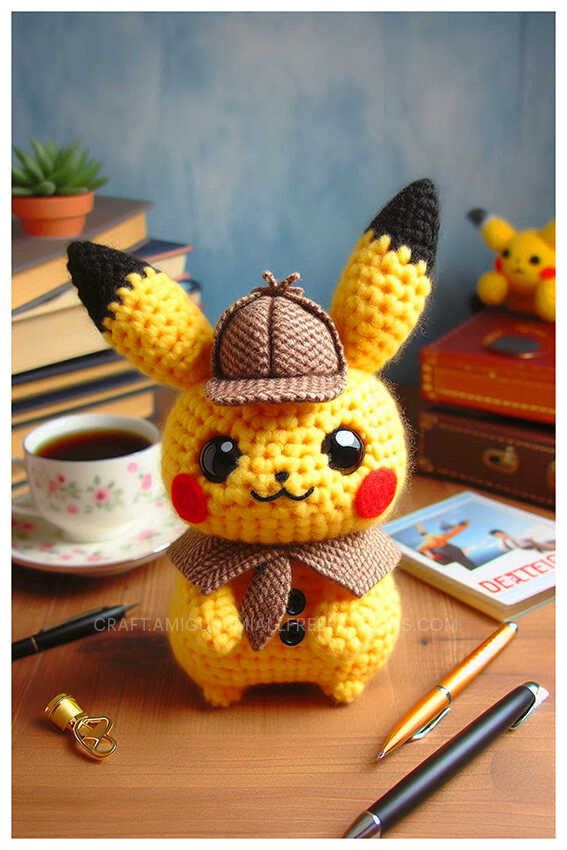
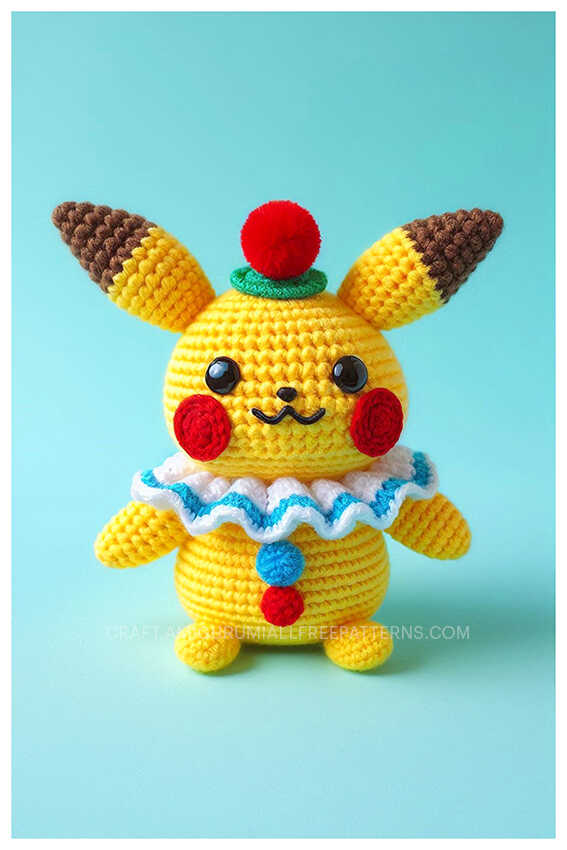
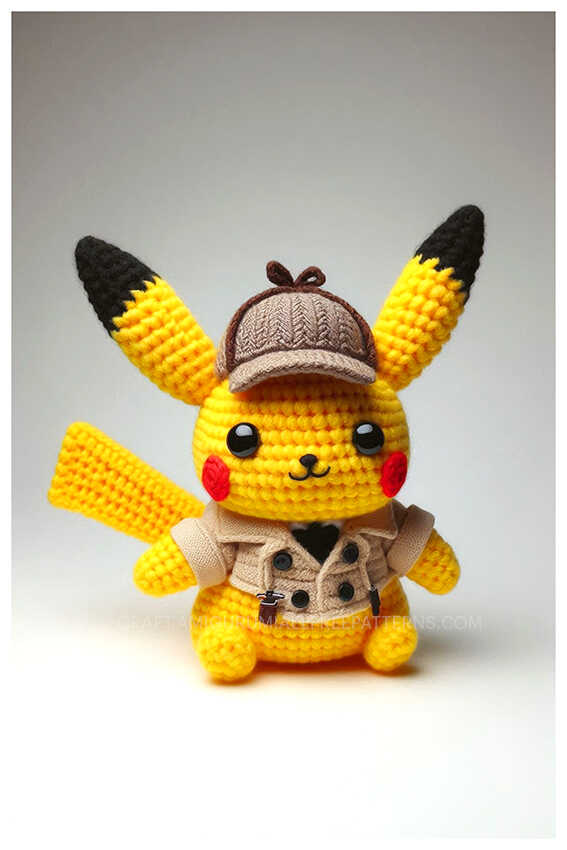
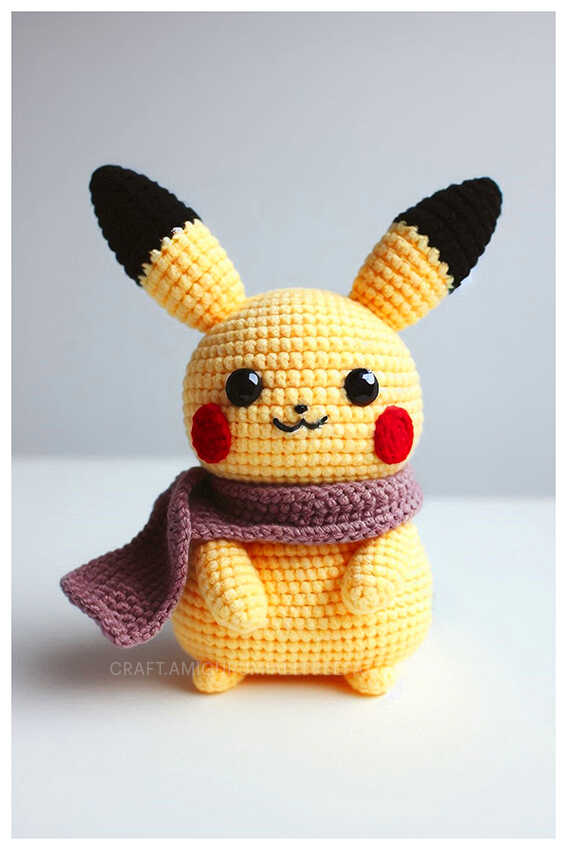
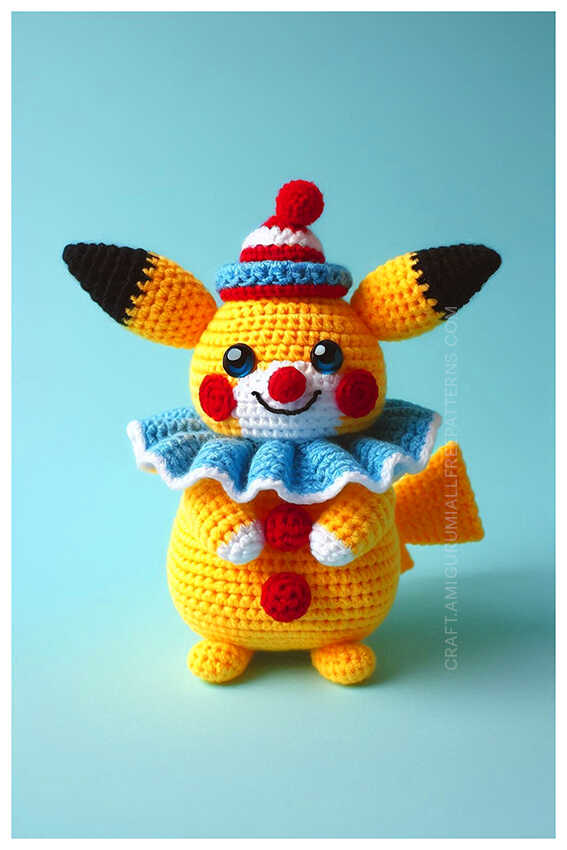
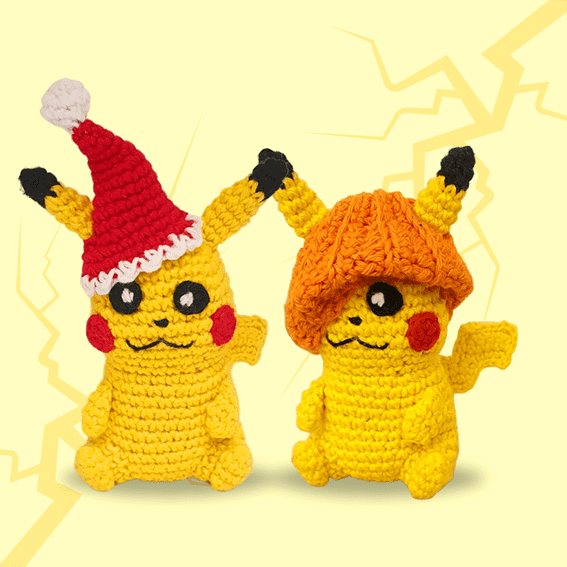
More amigurumi pikachu ideas: